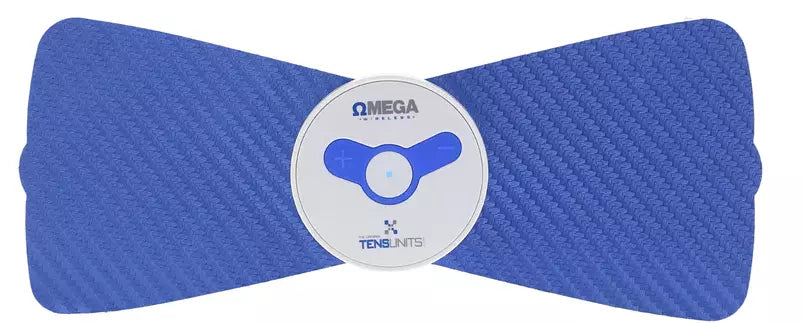
How to Attach Your Wireless TENS Unit to the Butterfly Electrode

Posted by Jon Kovach
Read the article below or watch the video
In this article, we’re going to explain how to attach your wireless TENS unit to the butterfly electrode.
Each butterfly electrode that comes in your package has two metal pins on the front. On the back of your wireless host device, there are two holes for the butterfly electrode to snap into.
Attaching the TENS Unit to the Butterfly Electrode
When you are ready to start using your wireless TENS unit, it’s easier to hold the electrode pad in one hand while you attach the wireless host device.
Pick up the electrode with one hand and attach the wireless TENS unit, one notch at a time, until you hear a snapping sound that indicates the unit is attached to the electrode.
Be careful to avoid pressing the center power button while attaching the TENS unit, as pressing this button will turn on the unit.
We recommend holding the unit from the sides while you attach it.
Attaching Electrodes to the Skin
The next step is to attach electrodes to the exact site of pain, as indicated by your healthcare provider.
Clean the area of pain with a wipe to remove all excess oils or lotion from the skin.
Gently peel off the electrode from the plastic sleeve using the tab. Be sure to save the plastic sleeve provided to store the electrode after use.
Press the electrode pad down on the skin to secure it.
Watch the Video Below
SHARE:


